
Ingredients
-
3 cups All Purpose Flour
-
1 tsp Baking Powder
-
1 tsp Kosher Salt
-
2 sticks Unsalted Butter
-
1 cup Peanut Butter
-
2 tsp Vanillaextract
-
1 cup Brown Sugar
-
1 cup Sugar
-
2 large Eggs
Directions

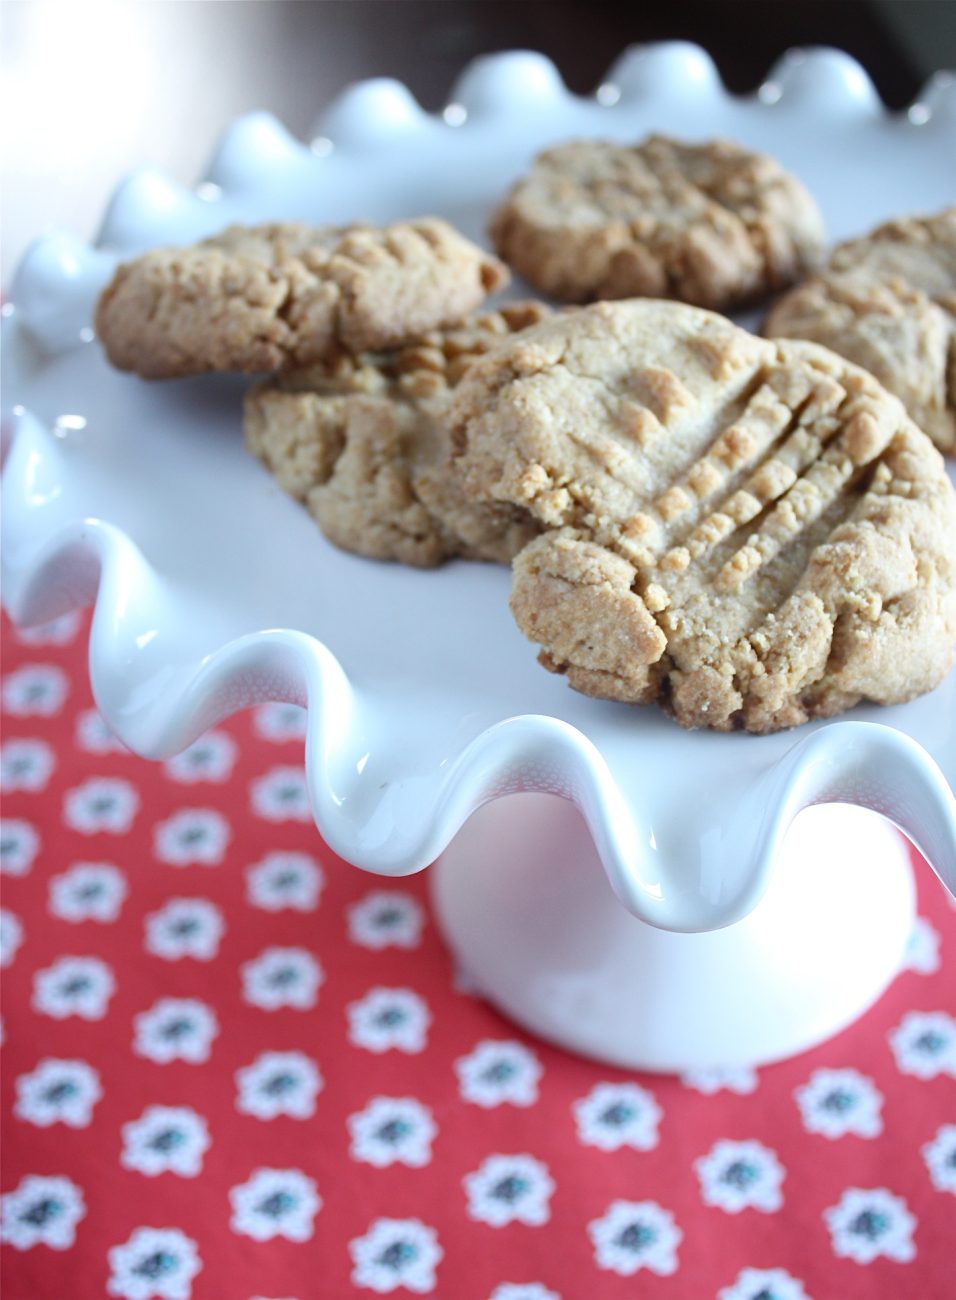
Last week when I made these peanut butter cookies, I was faced with the challenge of how to photograph them. They’re not the prettiest thing. Brown, funny-shaped and very imperfect. It was fun playing with them to see in what ways they looked best, and how they changed depending on the light and their placement.
After taking the photos, I went to edit them and became frustrated. The cookies are blurry and unfocused. When I was taking the photos, I adjusted the focus and they looked good to me. It turns out that I really have a crappy camera lens. Of course, this isn’t my only problem (of which I have many and so much to learn), but it doesn’t help things, either.
I guess until I keep saving my pennies, I’ll have blurry cookies. But one day, friends, the cookies will be blurry no more.

Despite how they may look, these peanut butter cookies were delicious. The one thing I found was that the dough was a little bit dry and crumbly, thus making it hard to squish the dough balls before breaking. They tended to fall apart. This could be the peanut butter I was using, a natural one with not much oil.
Either way, you want some yummy cookies that are easy to make, give these a shot.
Recipe Steps
|
1
Done
|
Preheat oven to 350°F. Line 2 large baking sheets with parchment paper. |
|
2
Done
|
Mix flour, baking powder and salt in medium bowl. |
|
3
Done
|
Using electric mixer, beat butter, peanut butter and vanilla in large bowl until well blended. Beat in both sugars. Scrape down sides of bowl. Stir half of dry ingredients into mixture. Add eggs 1 at a time, stirring well after each addition. Mix in remaining dry ingredients. |
|
4
Done
|
For each cookie, roll 1 heaping tablespoonful of dough into 1 3/4-inch-diameter ball. |
|
5
Done
|
Arrange dough balls 2 1/2 inches apart on prepared baking sheets. Using back of fork, flatten dough balls and form crosshatch design on tops. Bake cookies until dry on top and golden brown on bottom, about 14 minutes. |
|
6
Done
|
Cool cookies on baking sheets 5 minutes. Using metal spatula, transfer cookies to racks and cool completely. (Can be prepared up to 3 days ahead. Store in airtight container at room temperature.) |


4 Reader Questions and Reviews Hide Comments
Thanks for sharing your ups and downs in food photography. I badly need to improve my food photo skills – but feel like it is waste of time until I get a better camera. Then, I want to take a class by Lara too. Your blurry cookies still look yummy to me!
Your pictures are still great–I’m still learning too. I completely understand what you mean about the lens vs the naked eye. It’s been frustrating at times for me too.
Glad I found your blog.
Looks good! Keep on practicing the photography! Thanks for stopping by my site!
Congrats girl — b/c it did make it one of “those lovely food collage sites that bring us oh so many visitors.” Sometimes I feel like my pictures are blah too — and then when it gets rejected by you know who…it makes me feel even more blah! =) But you didn’t give up! I guess the lesson here is – just keep trying! =) Good job & keep it up!